How to connect your Tesla to the Octopus Energy app

Here’s how to connect your Tesla to the Octopus Energy app.
First, you need to be an Octopus Energy customer. If you’re not one yet, you can sign up here.
You also need to be on either the Intelligent Octopus Go tariff- you can switch tariff in two clicks here
Or our Intelligent Drive Pack tariff- which you can subscribe to here.
Once you switch you'll have 7 days to connect your Tesla to the Octopus Energy app.
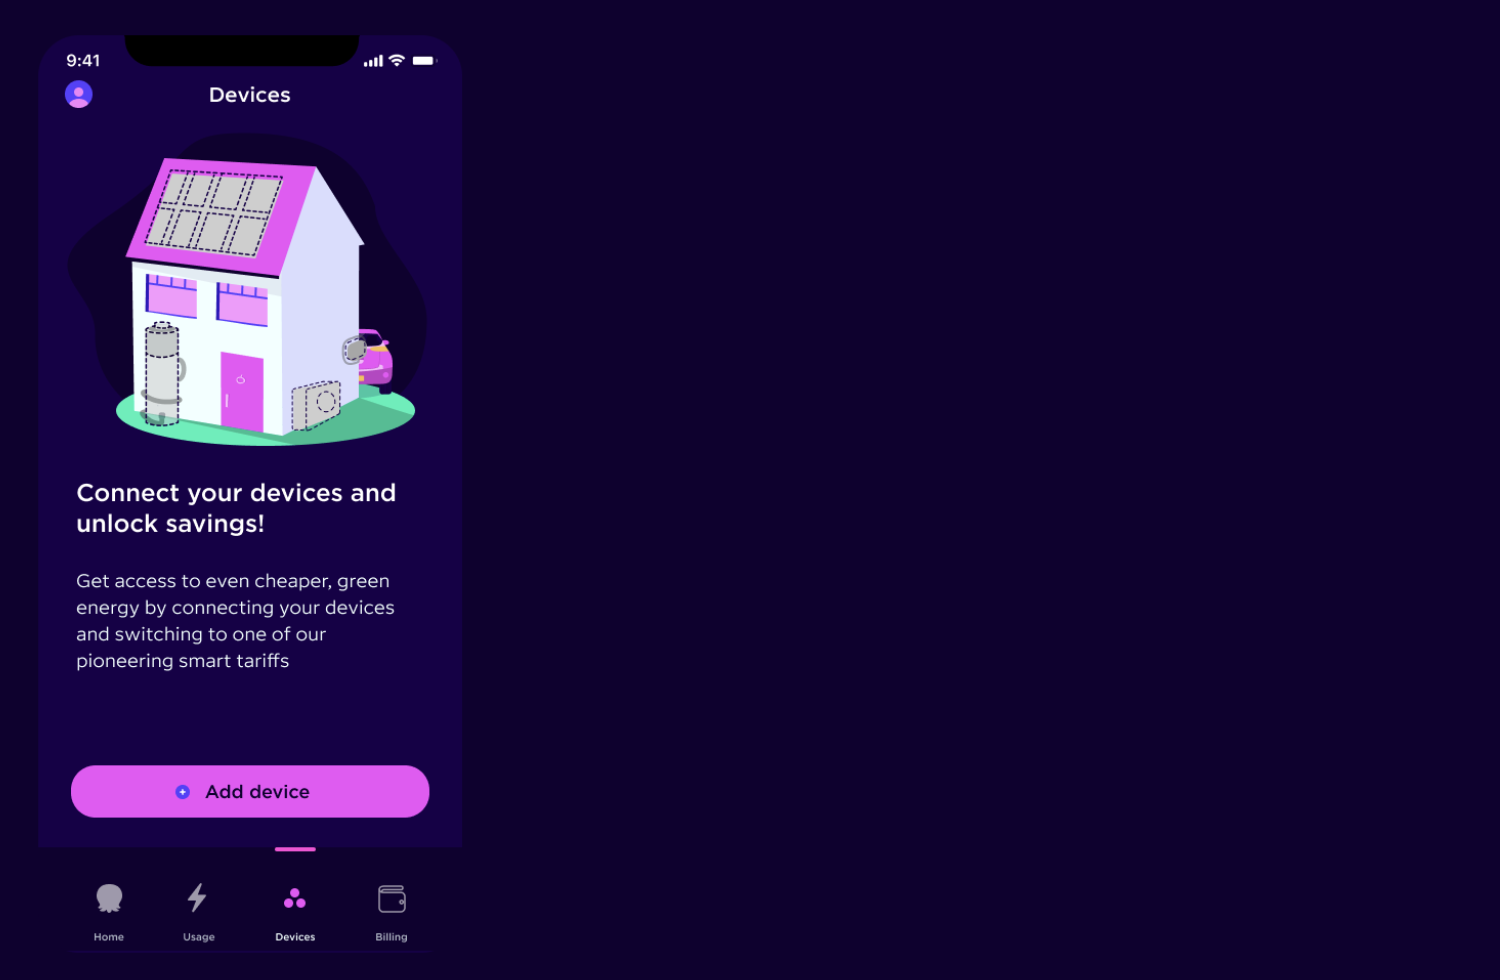
Step 1: Open the Octopus Energy app.
Go to the 'Devices' tab and press 'Add device'.

Step 2: Select the device you’d like to integrate with.
For your Tesla, select 'Electric vehicle'.
You'll be asked if you are at home with your EV plugged in, make sure this is the case before continuing. Your car needs to be plugged in, but not charging.
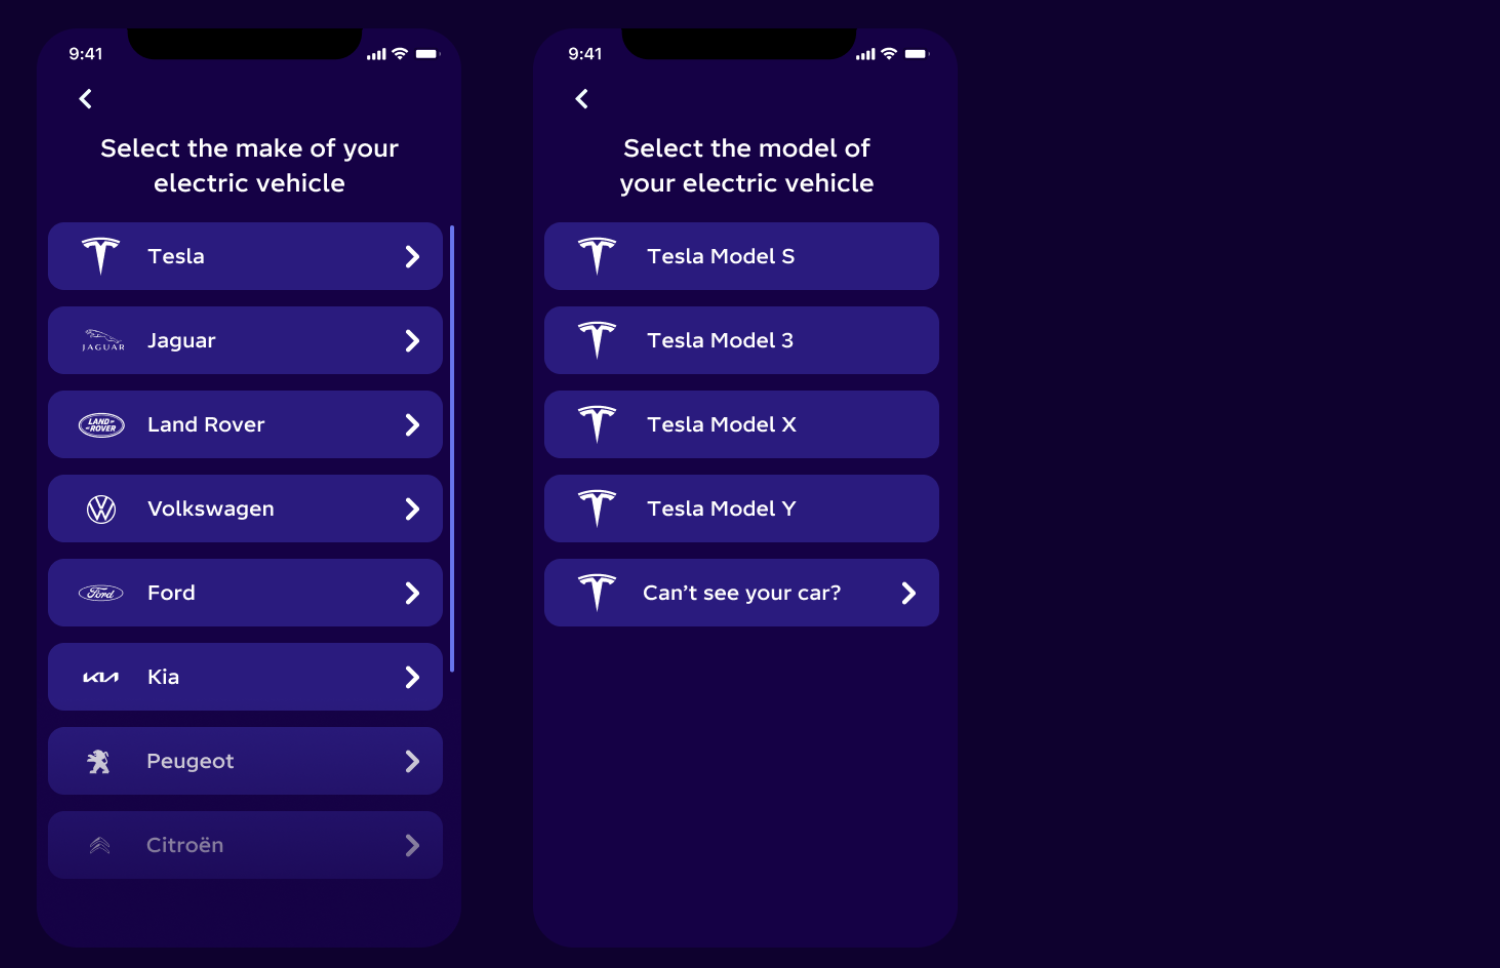
Step 3: Select your EV make and model.
Select 'Tesla' from the dropdown and select your model.
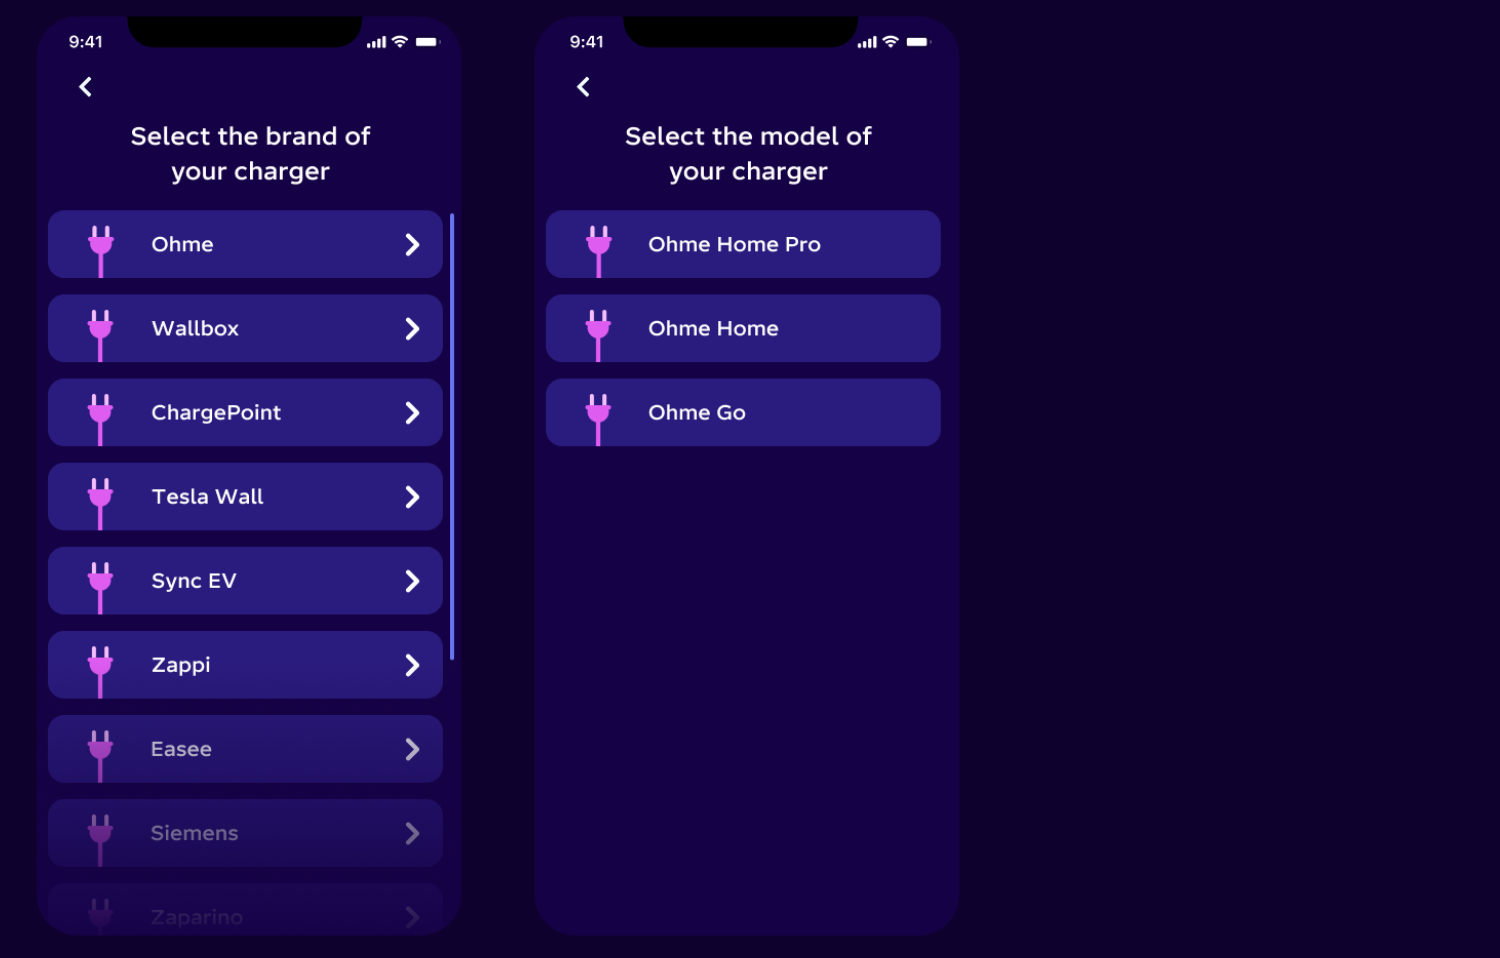
Step 4: Add your charger make and model.
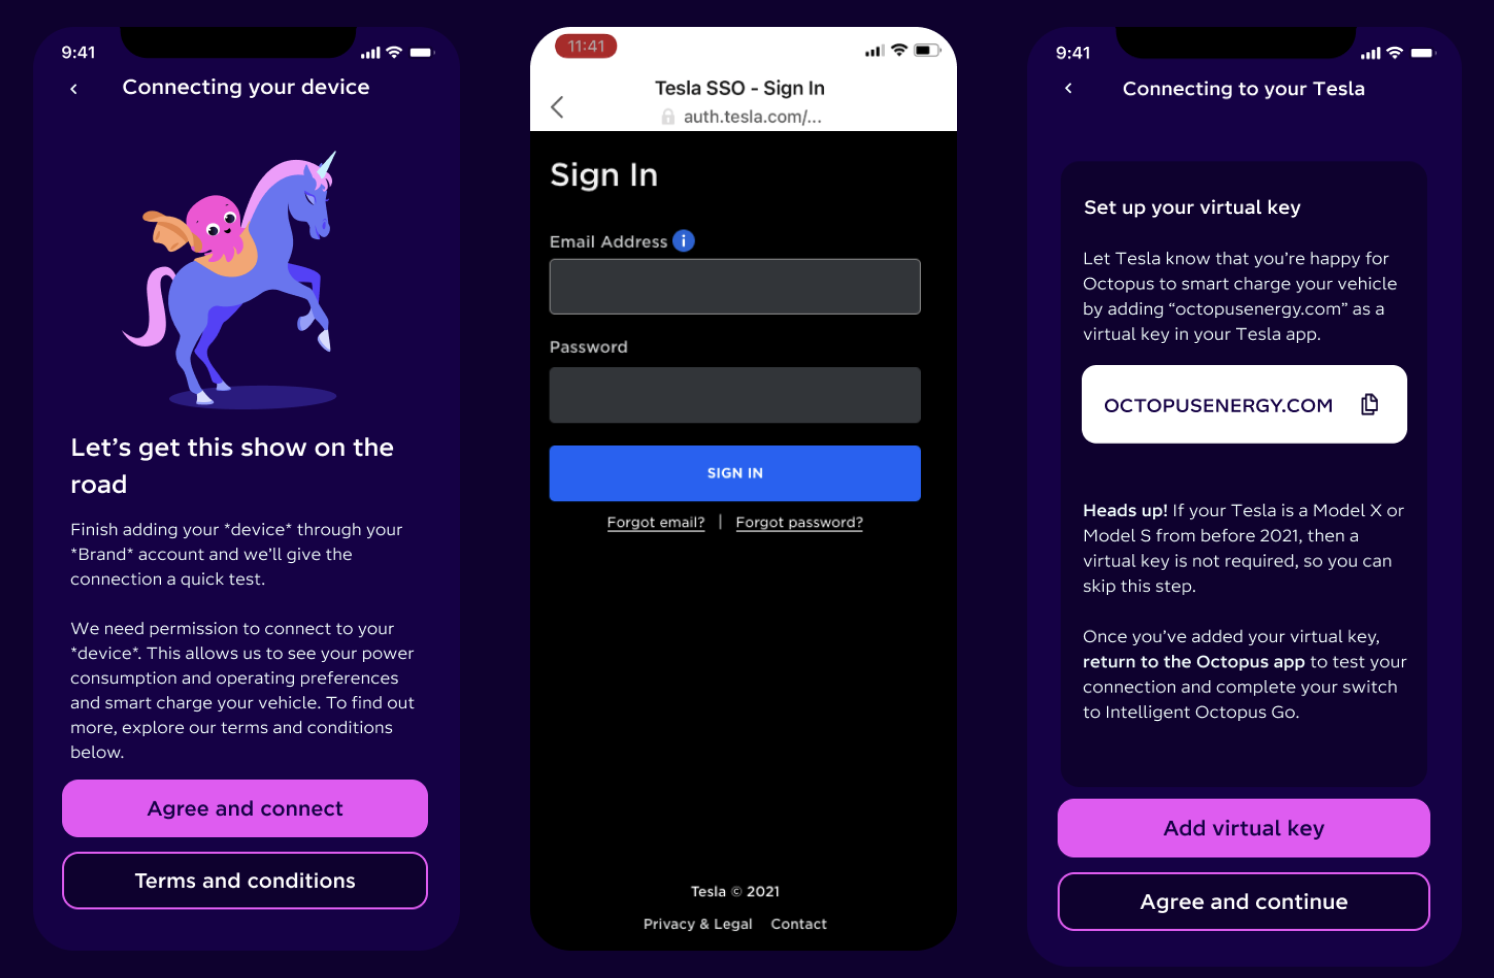
Step 5: Connect your Tesla
We now need to connect to your Tesla to make sure we can control it and schedule your charging.
If you are happy with the T&Cs, tap 'Agree and connect' and then sign in to your Tesla account.
Once logged in, you will be asked to 'add a virtual key'.
Please note: if your Tesla is a Model X or S from before 2021, or you lease your vehicle, adding a virtual key is not required and you can skip this step by pressing 'Agree and continue'.
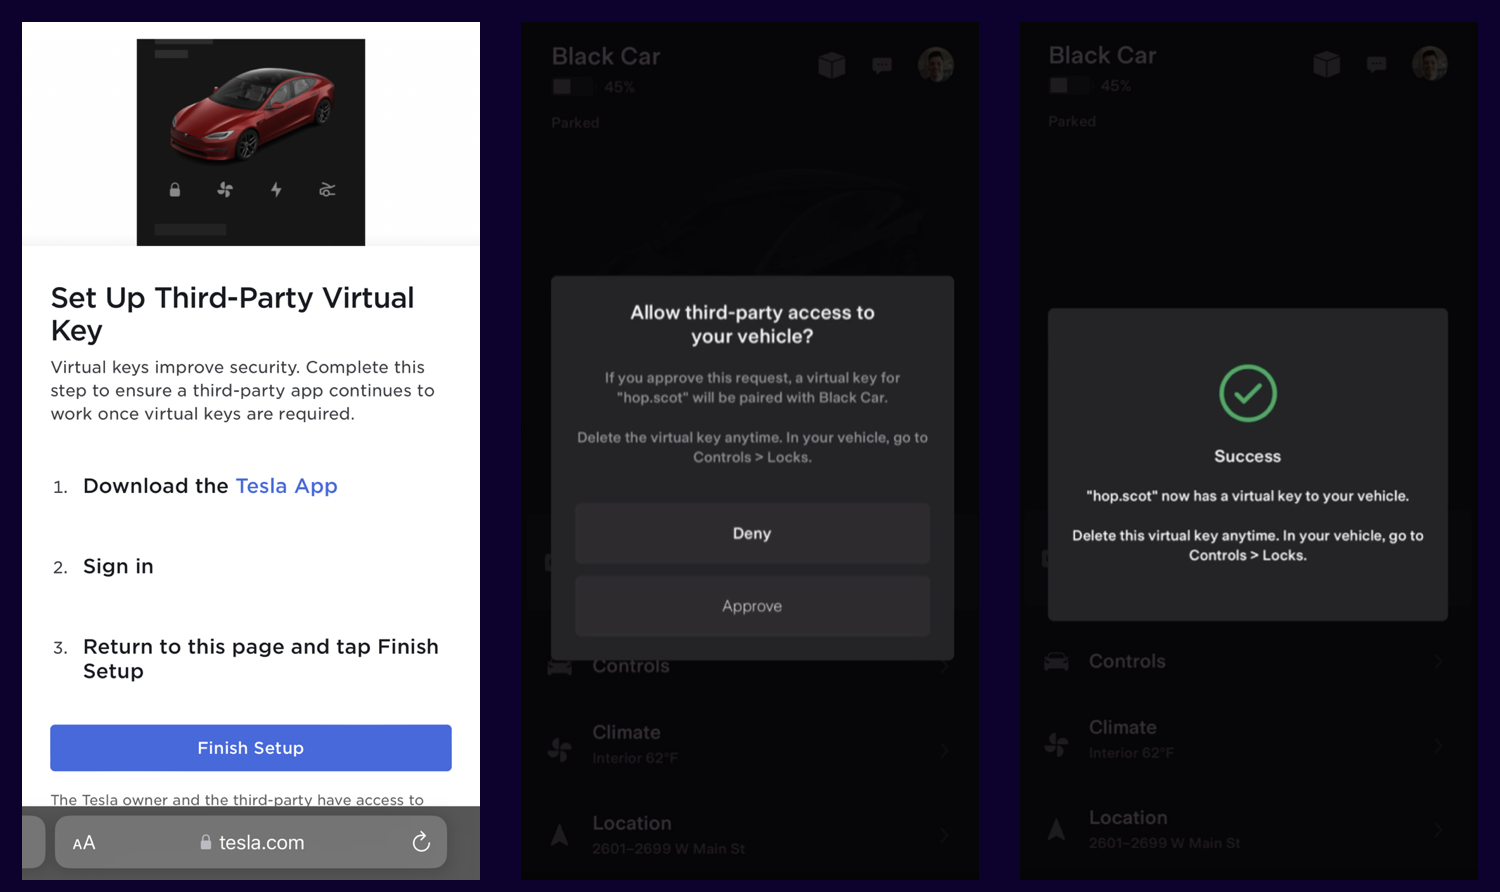
Open your Tesla app, click on allow third parties to access your vehicles, then return to the previous Tesla screen and click on ‘Finish setup’.
Return to the Octopus app, and click on ‘Agree and continue’
Check our FAQs if you have any issues at this stage.
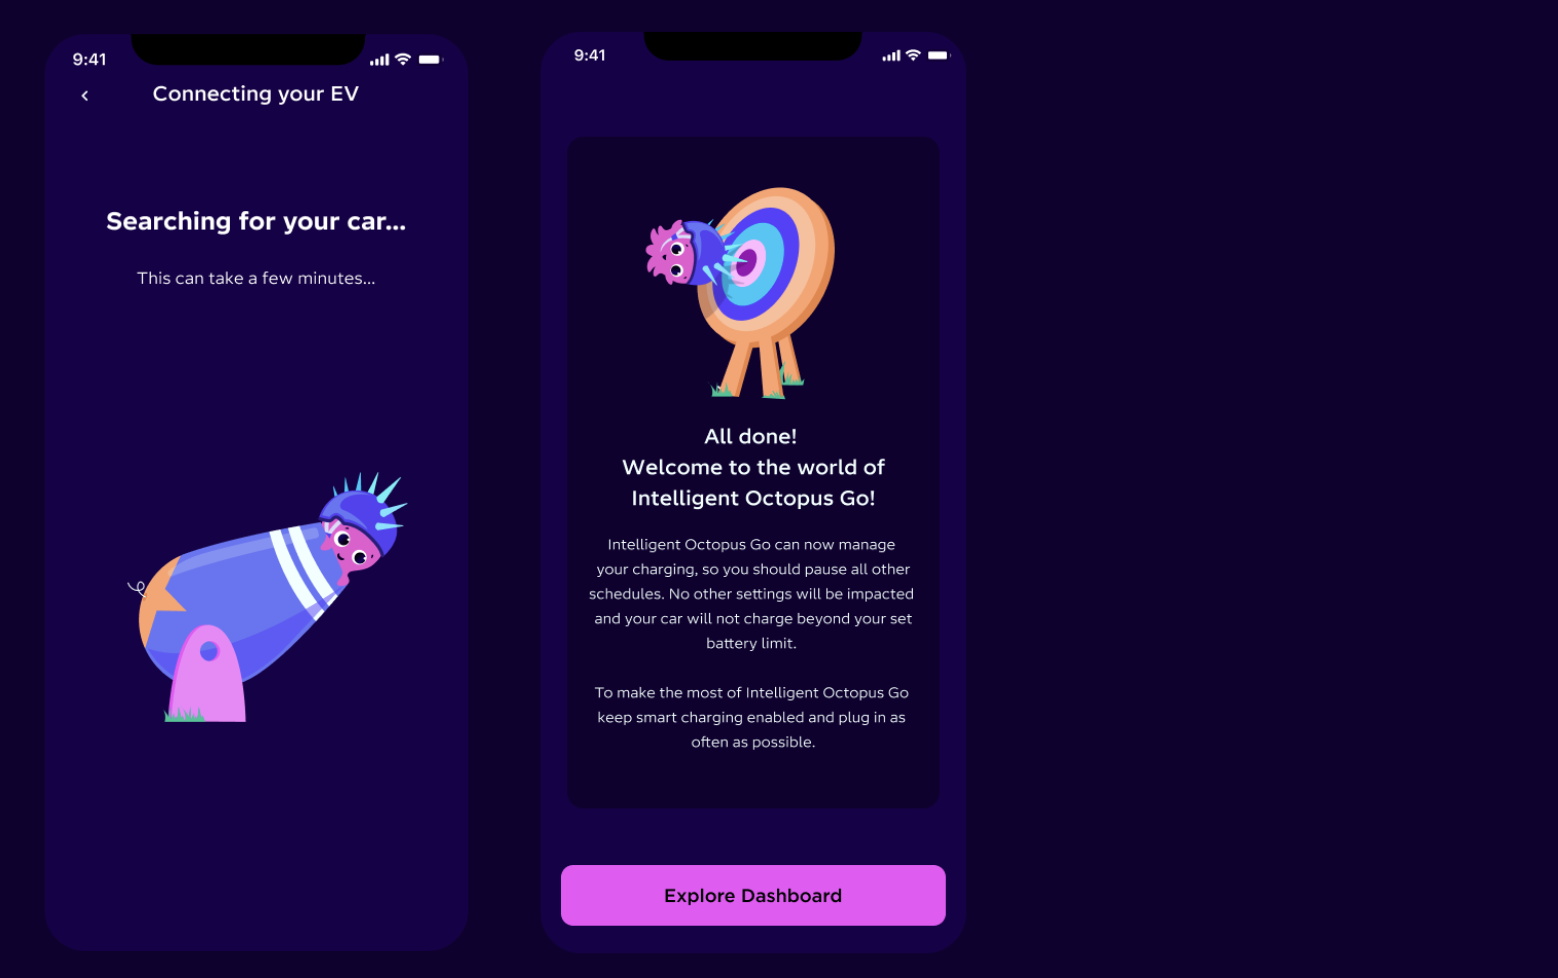
Step 6: Your Tesla is connected!
Your Tesla is now connected - press 'Explore Dashboard' to get charging.
FAQ
Unfortunately, we’re not able to support multiple Teslas at the moment.
However, if you have multiple Teslas, we can connect to one - just select the one you use the most during step 5 above and continue through the onboarding journey.
If you have any issues here, we will need you to check a few things. In order for us to communicate with your car, the vehicle must have mobile app access enabled. You can allow Mobile Access from Controls > Safety > Allow Mobile Access while seated in the vehicle.
You’ll also need to make sure that you only currently have one Tesla connected in your app. If you have more than one, your device will fail to authenticate.
To be able to charge your Tesla, we need access to the following data: vehicle location, charging commands to schedule, and start/stop charging. Tesla packages this information with a bunch of other data, which we don’t use. The only way for us to have access to the data we need is for you to tick the boxes for ‘Vehicle Information’ and ‘Vehicle Charging Management’ when connecting your device.
If you don’t tick the ‘Vehicle Information’ and ‘Vehicle Charging Management’ boxes, the device connection will fail. If this happens, you need to go to Tesla.com, log in to your account, go to the Security tab and to Manage Third Parties, and remove Octopus from your allowed third parties. You’ll need to then go through the onboarding again.
If your Tesla is a pre-2021 Model S or X, you don’t need to do this and can click on ‘Virtual key added or not required’ instead.
If you are having issues, it could be that you don’t have an associated car in your Tesla app - you’ll need to make sure that you are using the same login details in the Tesla app.
If you do have any issues during the test charge, there are a few things which you can check:
The vehicle is fully plugged in
There’s not already a charge in progress
Your vehicle is at home. It’s sometimes helpful to wait 20 minutes after arriving home and plugging in to start the test charge. This is because it sometimes takes time for the location data to be updated and for us to receive it
There are no existing charging schedules in the Tesla App as these can interrupt a test charge
You can try disconnecting and reconnecting the vehicle
Published on

Phil Steele
Future Technologies Evangelist